DIY Garden Edging: A Step-by-Step Guide
Diy Garden Edging Guide
Unleash Your Inner Gardener: Crafting Your Own Edging Masterpiece
Imagine stepping out into your garden and seeing a beautifully edged landscape that you created with your own two hands. It's not just a dream-with our DIY guide, it's a garden transformation that's absolutely within your reach! At , we believe that anyone can become a gardening guru with the right guidance and a sprinkle of creativity.
Edging your garden is not just a way to create tidy borders; it's a chance to show off your personality and style. And we're here to walk you through the process, step by step. Not only will your garden look more polished, but you'll also feel a sense of pride every time you admire your handiwork. Let's dig in and get those hands dirty-figuratively speaking!
If you have questions along the way or want to book an appointment to discuss your garden edge dreams, is just a call away at . But for now, let's embark on this do-it-yourself journey together.
Choosing the Right Materials for Your Garden Edging
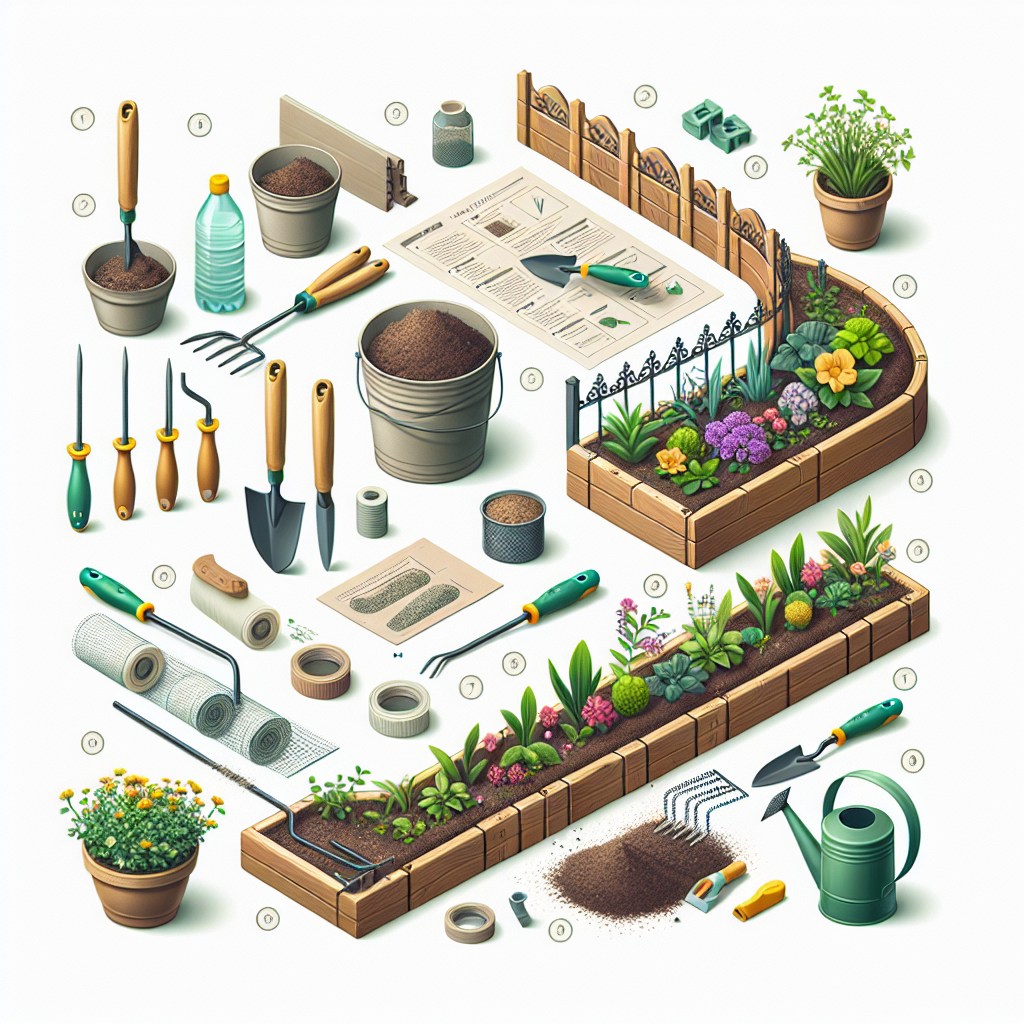
First things first, selecting the right materials for your edging project is crucial. You want something that complements your garden's personality and withstands the test of time. Here are some popular options to consider:
- Bricks provide a classic look and offer flexibility in design.
- Natural stones add an earthy, rustic charm.
- Metal edgings give a sleek, modern edge.
- Recycled materials empower you to go green while being creative.
Think about the overall vibe you're going for and the level of maintenance you're comfortable with. Some materials may require a bit more upkeep, but the aesthetic payoff could be well worth it.
Measuring and Mapping Out Your Garden Space
Before you can shape your garden's edge, you need to measure the space. Accuracy is key, so grab your tape measure and get the lay of the land. Sketch out a map of your garden, including any existing beds, trees, or pathways that will influence your edging plan.
Making a clear plan will save you time and materials. Plus, it gives you a visual guide to follow, ensuring your final product is just as you envisioned. If math isn't your strong suit, can lend a hand-just us, and we'll help you sort it out.
Prepping Your Garden for Edging Installation
Once you've got your materials and measurements, prep work is next. Clear away any debris, such as leaves or stones, and trim back overgrown plants. A clean canvas makes for smoother installation and a more polished look in the end.
Consider also laying down a line of string or marking spray paint to define exactly where your edging will go. This visual guide ensures consistency and helps avoid any wobbly lines or misplaced materials.
's Step-by-Step Guide to Garden Edging Installation
Now that everything's in place, it's time to get to the heart of the matter-installing your garden edging! With our step-by-step guide, even a novice gardener can achieve a professional look. Ready to transform your garden's borders? Here's how:
Take one step at a time, and remember, gardening is a process meant to be enjoyed. If you need a helping hand or advice, the friendly folks at are just a quick call at away.
Laying the Foundation for Your Edging
Begin by digging a trench along your marked line. It should be slightly wider than your edging material and deep enough to accommodate about half of its height. This provides a secure fit that stands up to foot traffic and lawn maintenance.
Next, fill the bottom of your trench with a layer of sand or gravel. This aids in drainage and helps keep your edging level. Don't skimp on this step- a solid foundation means less work for you down the line.
Positioning Your Edging Materials
It's time to lay down your edging. Carefully place your chosen material into the trench, making sure that it's straight and level as you go. Use a mallet or hammer to gently tap materials like bricks or stones into place, if necessary.
Remember, this is the fun part! Feel the satisfaction grow as each piece finds its spot and your garden's new edge takes shape. Patience is key, as rushing might lead to a less than perfect finish.
Securing Your Garden's New Edge
Once all your edging is laid out, it's crucial to secure it in place. Depending on your material, this could mean backfilling the trench with soil, setting with concrete, or using special stakes or pins for metal or plastic edgings.
Give everything a good water to settle the soil, and voil! Your garden edges are not only functional but exude the personal flair that comes from doing it yourself. Stand back and admire your work-you've earned it!
Adding the Finishing Touches to Your Garden Edging Masterpiece
With the hard work behind us, it's all about the details now. Finishing touches are what can elevate your edging from great to absolutely stunning! Let's explore some final embellishments to make your garden the talk of the neighborhood.
If your green thumb is itching to go the extra mile or if you have any lingering questions, we're here for you. Give a ring at , and let's chat about how to put those perfect final touches on your garden masterpiece.
Adding Mulch for Contrast and Protection
A layer of mulch not only looks sharp but also protects your plants. It helps retain moisture, suppresses weeds, and adds a textural contrast that can really make your new edging pop.
Choose a color that complements your edging material-dark mulches can make light-colored stones stand out, and vice versa. Spread it evenly for a polished look, and remember to refresh it every season for best results.
Incorporating Plants for a Lush Edge
Plants can add a soft, natural feel to the rigid lines of edging. Groundcovers, ornamental grasses, or flowering perennials are perfect for nestling against your newly laid borders.
Choose a plant palette that blends with your garden's existing design, and watch as your garden edges become a living part of the landscape. There's nothing quite like greenery to bring your garden to life!
Lighting for Ambiance and Safety
Lastly, consider adding some outdoor lighting along your edging. It provides a warm glow in the evenings and ensures safe passage along garden paths.
Solar lights are an easy, eco-friendly option that requires minimal installation. Just stick them in the ground, and let the sun do the rest! Your garden will be magical at night, with your edging feature highlighted for all to see.
Join the Community of Empowered Gardeners with
And there you have it, folks-a complete guide to creating your very own garden edging, courtesy of . Whether you're a seasoned gardener or new to the trowel and soil, we hope this DIY guide has inspired you to roll up your sleeves and dive into crafting a garden that's as unique as you are.
As you revel in your success, remember that we are only a phone call away to share your triumphs, offer guidance, or book an appointment for more hands-on help. Your engagement with the earth doesn't have to stop here. Join our community of empowered gardeners, and let's continue growing together. If you want to connect or have any queries, don't hesitate to .
So what are you waiting for? It's time to take the plunge and transform your garden with your own two hands. Your very own edging masterpiece is just a weekend project away! Until then, keep cultivating those dreams, and remember, the best gardens are the ones that reflect the hearts of those who tend them.
Happy gardening, and when in doubt, just !
Next Page